Imagine firing a batch of ceramics only to reveal uneven, matte surfaces that diminish your work’s appeal. Rough textures and lackluster gloss waste materials, frustrate efforts, and reduce market value for potters and manufacturers. Master zircon silicate particle size selection to improve glaze smoothness, glossy finishes that elevate product quality and efficiency.
Understanding Particle Size for Glaze Smoothness
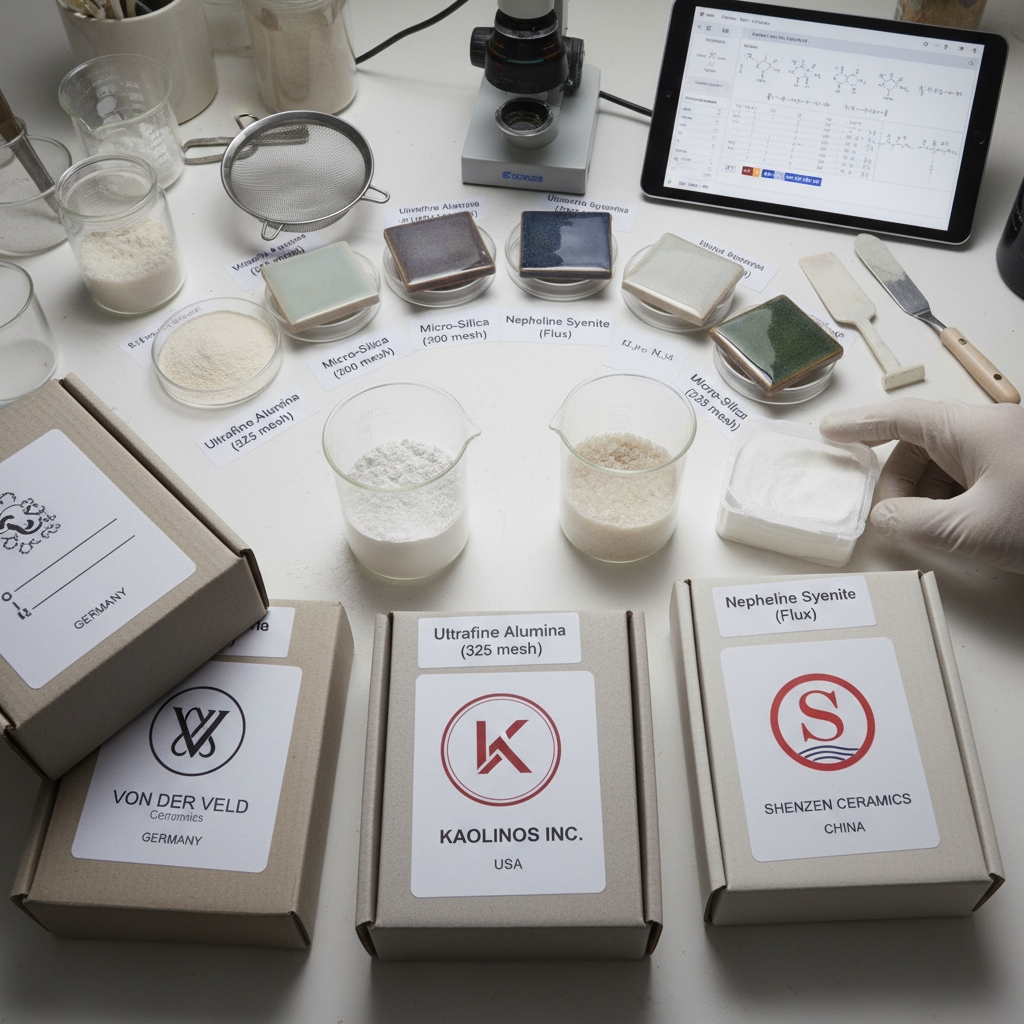
Particle size defines the dimensions of zircon silicate grains, directly influencing glaze uniformity and finish quality.
What Defines Key Metrics in Glaze Smoothness?
Key metrics like D50, D90, and D10 measure particle distribution to ensure even glaze application.
- Use D50 for median size to balance opacity.
- Monitor D90 to prevent coarse protrusions.
- Adjust D10 for better flow control. But here’s the kicker—fine-tuning these metrics transforms rough drafts into polished masterpieces. Experiment with lab samples to see immediate improvements in your workflow.
How Does D50 Affect Your Glaze Smoothness?
D50, the median particle size, determines opacity and surface evenness in your glazes.
- Smaller D50 enhances light scattering.
- It reduces material needs for coverage.
- Balances cost with performance gains. You might be wondering why finer particles matter so much. Select D50 under 1.5µm for premium pieces, saving time on revisions.
For more on how particle size affects whiteness, read our article on How to Boost Ceramic Glaze Whiteness.
What If D90 Ruins Your Glaze Smoothness?
D90 tracks the coarsest 10% of particles, which can create bumps if uncontrolled.
- Limit D90 below 5µm for tiles.
- Test batches to catch variances.
- Pair with deflocculants for stability. Ready for the good part? Keeping D90 tight means fewer defects. Key Takeaway: Mastering D90 control empowers you to produce flawless ceramics that command higher prices and build your reputation for reliability.
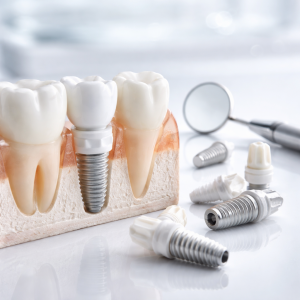
This is especially important when considering the broader Application of Zirconium Silicate in Ceramics.
| Metric | Role in Glaze Smoothness | |
|---|---|---|
| D50 | Boosts opacity evenly | |
| D90 | Minimizes surface bumps | |
| D10 | Improves flow dynamics |
This table highlights how targeted metrics prevent common pitfalls, enabling precise glaze formulation.

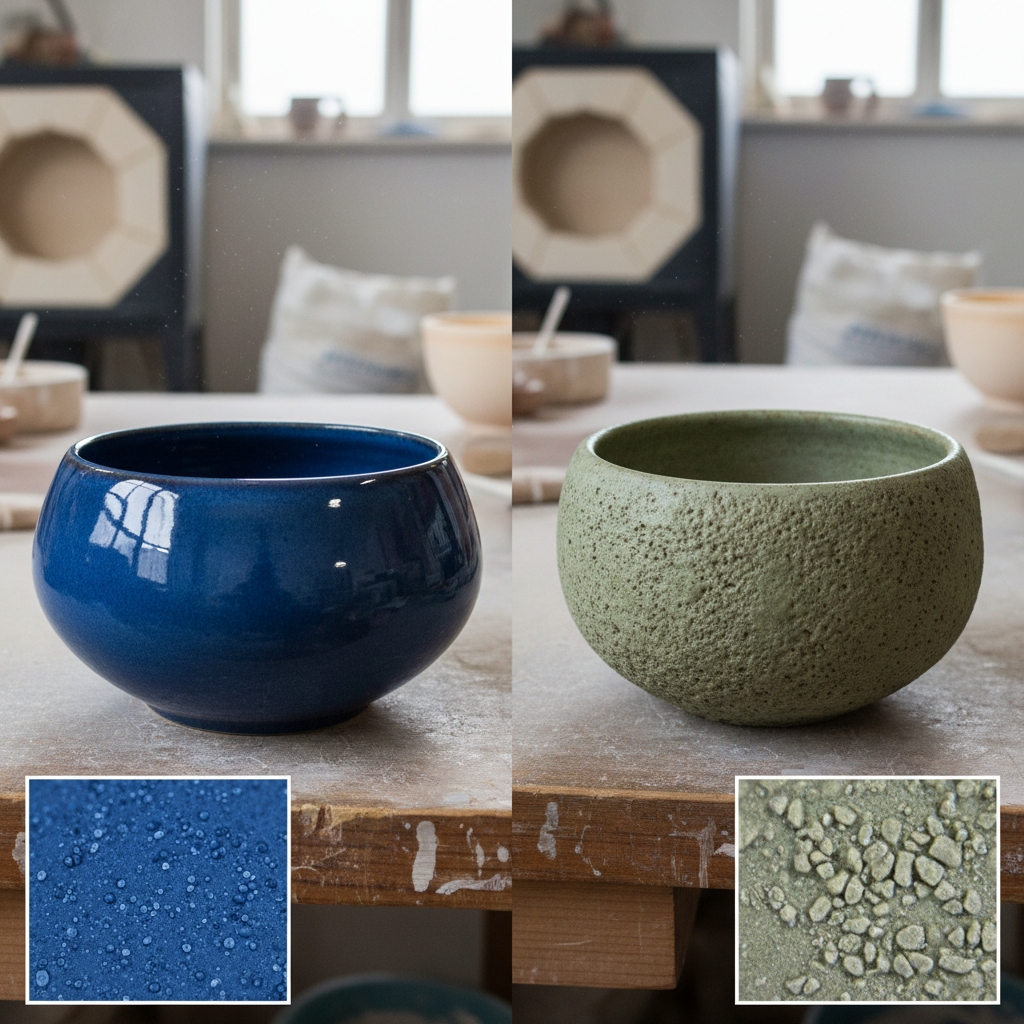
Impact of Particle Size on Glaze Smoothness
Particle size shapes glaze properties like texture and shine through light interaction and flow behavior.
Why Prioritize Surface Texture for Glaze Smoothness?
Surface texture relies on small particles to avoid roughness in your final pieces.
- Even distribution yields mirror-like finishes.
- Coarse grains cause tactile flaws.
- Ideal for tableware aesthetics. This is where it gets interesting—smoother textures draw customer eyes. Achieve this by grinding materials consistently before mixing.
For high-efficiency grinding, consider using our premium Zirconia Beads.
How Can Gloss Levels Improve Your Glaze Smoothness?
Gloss emerges from smooth surfaces that reflect light uniformly in your glazes.
- Fine particles diffuse less light.
- Enhance with controlled firing ramps.
- Measure via gloss meters post-firing. What’s the real story? Higher gloss signals quality craftsmanship. Choose particles that align with your kiln’s capabilities.
What Role Does Opacity Play in Glaze Smoothness?
Opacity from fine particles hides imperfections while maintaining smoothness.
- Increases scattering efficiency.
- Reduces layer thickness needs.
- Supports vibrant color integration. But here’s the kicker—balanced opacity prevents dull spots. Key Takeaway: Optimized opacity delivers durable, eye-catching glazes that extend product lifespan and boost your creative satisfaction.
| Property | Particle Influence | |
|---|---|---|
| Texture | Finer for evenness | |
| Gloss | Smoother reflection | |
| Opacity | Better coverage |
These impacts show particle size as a foundational tool for consistent, professional results.
Recommendations for Glaze Smoothness in Applications
Tailor particle sizes to application demands for targeted smoothness outcomes.
What Sizes Suit Wall Tiles for Glaze Smoothness?
For wall tiles, select D50 of 1.8-2.5µm to balance cost and even coverage.
- Ensures opacity without excess material.
- Maintains moderate gloss levels.
- Fits industrial production scales. You might be wondering about everyday durability. Stock versatile grades for quick switches.
How to Choose for Floor Tiles’ Glaze Smoothness?
Floor tiles benefit from D50 1.3-1.8µm for durable, smooth wear resistance.
- Enhances traction with subtle texture.
- Withstands heavy foot traffic.
- Integrates anti-slip additives easily. Ready for the good part? This range cuts rework costs. Produce reliable pieces that meet safety standards effortlessly.
What If Premium Tableware Needs Ultimate Glaze Smoothness?
For applications requiring extreme durability, explore our Zirconia Ceramic Structural Components.Premium tableware requires D50 0.9-1.2µm for brilliant, flawless shines.
- Maximizes whiteness and clarity.
- Prevents chipping in daily use.
- Appeals to luxury markets. This is where it gets interesting—ultra-fine grades justify premium pricing. Key Takeaway: Application-specific choices yield ceramics that impress clients and streamline your production for long-term success.
| Application | Recommended D50 | Goal | |
|---|---|---|---|
| Wall Tiles | 1.8-2.5µm | Cost-effective opacity | |
| Floor Tiles | 1.3-1.8µm | Durable smoothness | |
| Tableware | 0.9-1.2µm | Premium gloss |
Matching sizes to uses optimizes efficiency and minimizes waste in ceramics workflows.

Avoiding Mistakes in Glaze Smoothness Techniques
Steer clear of errors in particle handling to sustain smooth results.
Why Avoid Misjudging Particle Sizes for Glaze Smoothness?
Misjudging sizes leads to uneven firing and wasted batches in your process.
- Always verify supplier specs.
- Cross-check with sieve analysis.
- Document for repeatability. What’s the real story? Precision pays off in quality control. Double-check before large runs.
How Does Skipping Tests Harm Glaze Smoothness?
Skipping tests allows hidden variances to ruin your glaze uniformity.
- Run small-scale trials first.
- Track viscosity changes.
- Adjust formulas proactively. But here’s the kicker—testing reveals fixes early. Build confidence in every firing cycle.
What If Process Changes Disrupt Glaze Smoothness?
Environmental shifts like humidity can alter particle behavior unexpectedly.
- Standardize mixing conditions.
- Use hygrometers routinely.
- Train staff on variations. Ready for the good part? Consistency breeds excellence. Key Takeaway: Dodging these pitfalls equips you with reliable techniques that save time and enhance your glazing expertise for standout products.
| Mistake | Consequence | Prevention | |
|---|---|---|---|
| Size Misjudgment | Uneven firing | Verify specs | |
| No Testing | Hidden flaws | Run trials | |
| Process Shifts | Inconsistency | Standardize |
Avoiding errors through vigilance ensures predictable, high-smoothness outcomes.

Making Choices for Optimal Glaze Smoothness
Evaluate options based on performance to select ideal particles.
What Metrics Guide Your Glaze Smoothness Decisions?
Focus on D50 and D90 to align choices with smoothness goals.
- Prioritize low D90 for gloss.
- Weigh opacity needs against budget.
- Consult distribution curves. You might be wondering about trade-offs. Refine selections by simulating end-use scenarios.
How to Balance Cost and Quality in Glaze Smoothness?
Finer particles cost more but deliver superior smoothness value.
- Calculate per-unit efficiency.
- Source bulk for savings.
- Scale up proven formulas. This is where it gets interesting—smart buys amplify returns. Optimize resources without sacrificing finish.
Why Test Regularly for Glaze Smoothness Success?
Ongoing tests confirm particle reliability in your setups.
- Use gloss and roughness gauges.
- Compare against benchmarks.
- Iterate based on data. What’s the real story? Data drives mastery. Key Takeaway: Informed decisions foster innovative glazes that differentiate your work and open new opportunities.
| Factor | Consideration | Benefit | |
|---|---|---|---|
| Metrics | D50/D90 focus | Targeted results | |
| Cost | Efficiency calc | Value gains | |
| Testing | Routine checks | Reliability |
Strategic choices elevate glaze smoothness from good to exceptional.
Preparing Materials for Enhanced Glaze Smoothness
Proper prep ensures particles integrate seamlessly for smooth application.
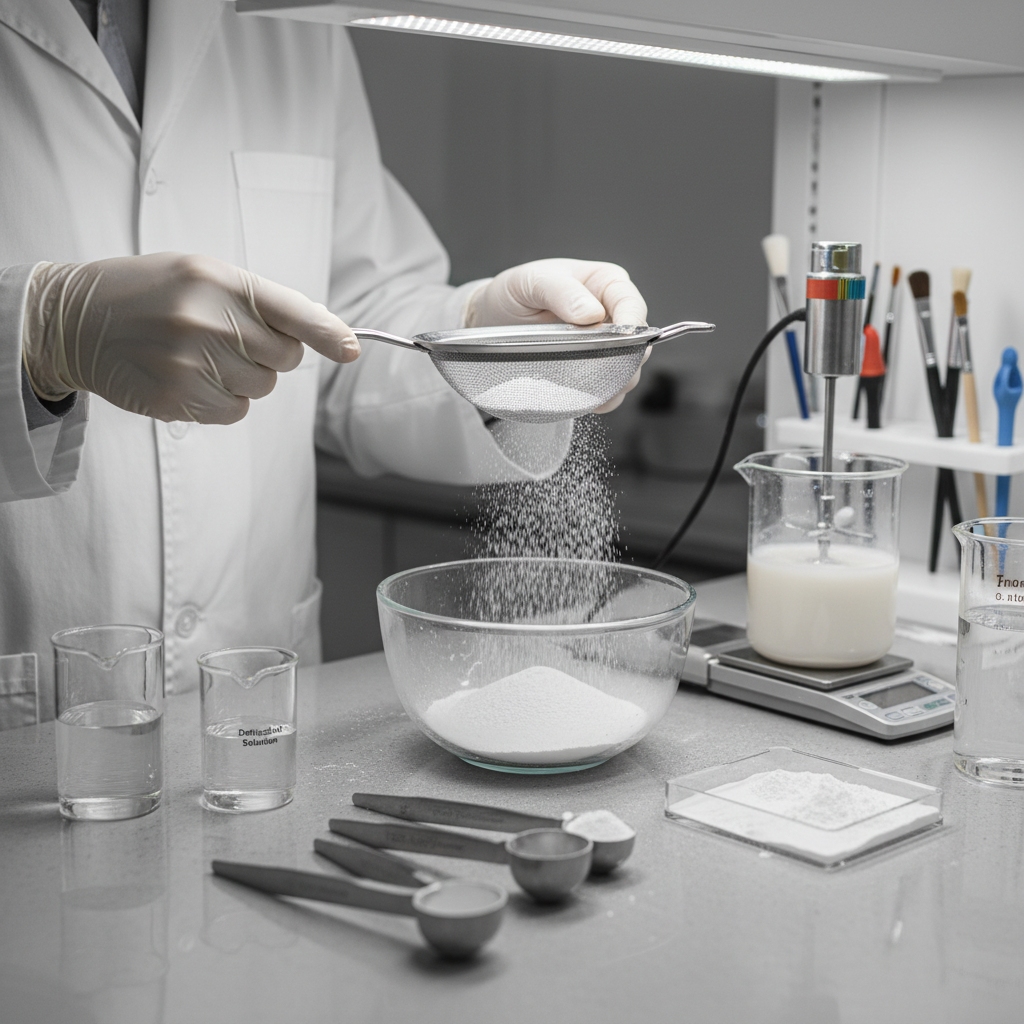
What Steps Ensure Even Particle Mixing for Glaze Smoothness?
Thorough mixing disperses particles uniformly in your slurry.
- Use high-shear blenders.
- Add water gradually.
- Sieve to remove clumps. But here’s the kicker—even prep prevents settling. Achieve consistent dips every time.
How Can Sieving Improve Your Glaze Smoothness?
Sieving filters out oversized grains that mar finishes.
- Choose 200-mesh screens.
- Repeat for fine grades.
- Inspect post-process. Ready for the good part? Clean materials shine brighter. Reduce firing surprises significantly.
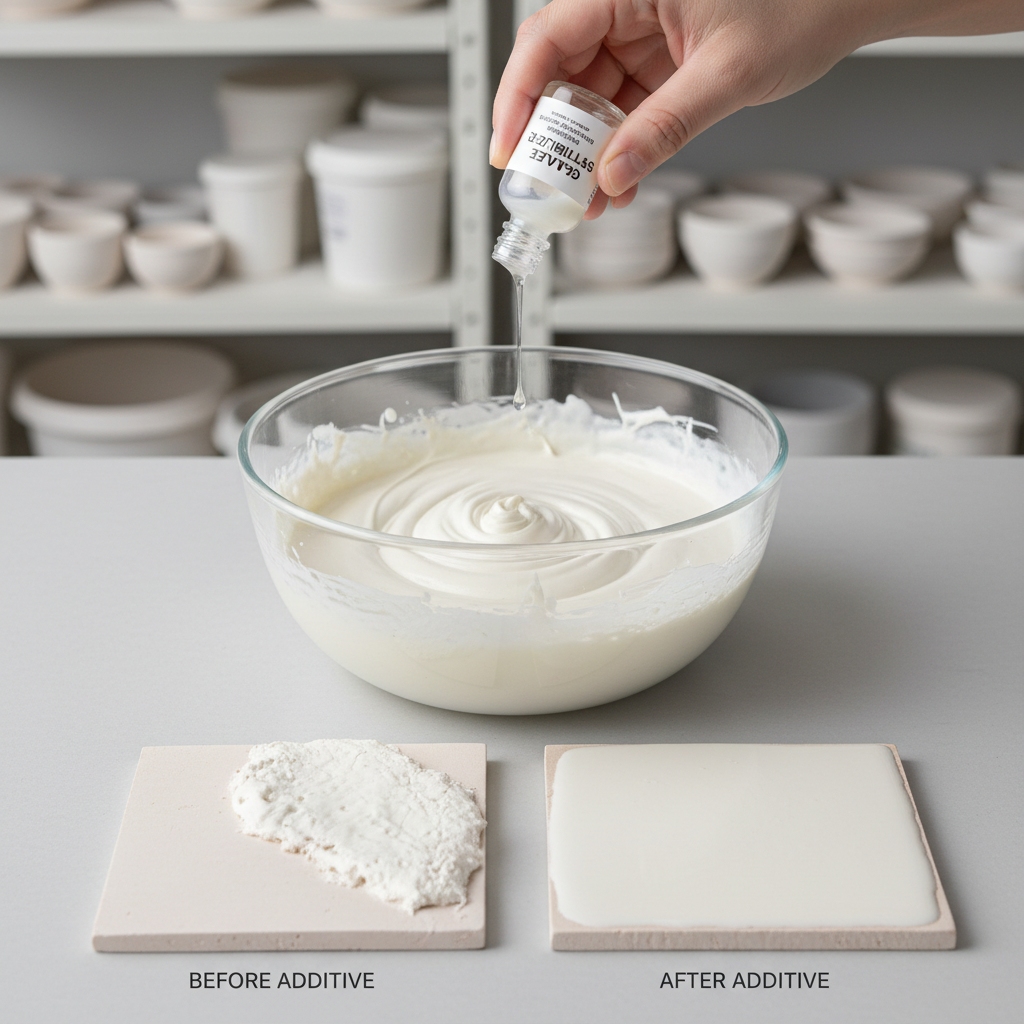
What If Additives Affect Glaze Smoothness?
Binders and deflocculants fine-tune flow without compromising smoothness.
- Start with low doses.
- Monitor viscosity hourly.
- Test compatibility first. This is where it gets interesting—additives unlock potentials. Key Takeaway: Meticulous preparation grants you control over textures, leading to professional-grade ceramics that inspire confidence.
| Prep Step | Tool/Method | Outcome | |
|---|---|---|---|
| Mixing | Shear blender | Uniform dispersion | |
| Sieving | Mesh screens | Clump removal | |
| Additives | Dose control | Flow optimization |
Preparation techniques directly correlate with reduced defects and smoother glazes.
Firing Techniques to Boost Glaze Smoothness
Controlled firing melts particles evenly for glossy results.
Why Control Ramp Rates for Glaze Smoothness?
Slow ramps allow uniform melting to avoid bubbles in your glaze.
- Aim for 100°C/hour to peak.
- Hold at maturity 15 minutes.
- Cool gradually post-peak. You might be wondering about kiln quirks. Fine-tune schedules for your clay body.
How Does Atmosphere Influence Glaze Smoothness?
Oxidation atmospheres promote clear, smooth flows.
- Maintain oxygen levels.
- Avoid reduction for opalescent risks.
- Ventilate adequately. What’s the real story? Atmosphere sets the tone. Prevent matte spots with vigilant monitoring.
What If Cooling Affects Your Glaze Smoothness?
Rapid cooling can crack surfaces, while slow annealing enhances durability.
- Drop 50°C/hour initially.
- Anneal at 600°C for hours.
- Log each cycle’s results. But here’s the kicker—cooling polishes the finish. Key Takeaway: Refined firing empowers you to create enduring, smooth pieces that withstand daily use and showcase your skill.
| Technique | Parameter | Effect | |
|---|---|---|---|
| Ramp Rate | Slow ascent | Even melt | |
| Atmosphere | Oxidation | Clear flow | |
| Cooling | Annealing | Durability |
Firing mastery minimizes imperfections, maximizing smoothness potential.

Testing Methods for Glaze Smoothness Quality
Validate smoothness through systematic evaluations.
What Basic Tests Check Glaze Smoothness?
Visual and touch inspections reveal immediate surface flaws.
- Examine under angled light.
- Feel for irregularities.
- Compare to standards. Ready for the good part? Simple checks catch issues fast. Incorporate them into routines easily.
How to Measure Gloss for Glaze Smoothness?
Gloss meters quantify shine levels objectively.
- Calibrate on black tile.
- Take multiple readings.
- Average for accuracy. This is where it gets interesting—numbers guide tweaks. Quantify progress over batches.
Why Use Microscopy in Glaze Smoothness Analysis?
Microscopy uncovers particle-level inconsistencies.
- Magnify at 100x.
- Scan for protrusions.
- Document findings digitally. What’s the real story? Deep views inform fixes. Key Takeaway: Robust testing builds your assurance in delivering top-tier smooth glazes that meet industry benchmarks.
| Method | Tool | Purpose | |
|---|---|---|---|
| Visual | Light/Hand | Flaw detection | |
| Gloss | Meter | Shine quantification | |
| Microscopy | Scope | Particle insight |
Diverse tests provide comprehensive data for ongoing improvements.

Troubleshooting Common Glaze Smoothness Issues
Address problems systematically to restore smooth finishes.
What Causes Roughness in Glaze Smoothness?
Oversized particles or poor mixing often create rough spots.
- Identify via sieving.
- Remix with more water.
- Refire if possible. You might be wondering about quick fixes. Resolve most with material audits.
How to Fix Dull Gloss for Better Glaze Smoothness?
Insufficient fineness leads to light diffusion; refine particles accordingly.
- Switch to lower D50.
- Increase firing hold.
- Polish post-firing lightly. But here’s the kicker—small changes yield big shines. Experiment safely on test tiles.
What If Bubbles Disrupt Glaze Smoothness?
Trapped gases from rapid heating cause bubbles; slow ramps mitigate this.
- Burp kiln vents.
- Degass slurry pre-application.
- Use flux balancers. This is where it gets interesting—troubleshooting sharpens skills. Key Takeaway: Proactive fixes turn setbacks into strengths, ensuring your glazes consistently deliver smooth, professional appeal.
| Issue | Cause | Fix | |
|---|---|---|---|
| Roughness | Large particles | Refine mixing | |
| Dull Gloss | Coarse size | Finer grade | |
| Bubbles | Gas traps | Slow firing |
Targeted troubleshooting reduces downtime and enhances overall smoothness.
Advanced Tips for Superior Glaze Smoothness
Elevate techniques with innovative approaches.
Why Experiment with Blends for Glaze Smoothness?
Blending sizes customizes properties for unique smoothness.
- Mix 70% fine with 30% coarse.
- Test opacity blends.
- Record ratios precisely. Ready for the good part? Blends unlock versatility. Innovate beyond standards.
How Can Automation Aid Glaze Smoothness?
Automated mills ensure consistent particle reduction.
- Program for target D50.
- Integrate feedback loops.
- Scale for production. What’s the real story? Tech streamlines perfection. Free time for creativity.
What Future Trends Boost Glaze Smoothness?
Nano-particles promise ultra-smooth glazes with less material.
- Watch for sustainable options.
- Adopt eco-friendly milling.
- Stay updated via journals. But here’s the kicker—trends keep you ahead. Key Takeaway: Advanced strategies position you as a leader in ceramics, creating smooth glazes that captivate and endure.
| Tip | Method | Advantage | |
|---|---|---|---|
| Blends | Ratio mixing | Customized results | |
| Automation | Programmed mills | Consistency | |
| Trends | Nano adoption | Innovation |
These tips propel glaze smoothness to elite levels efficiently.
Conclusion
Overcome roughness, dullness, and inconsistencies through particle mastery and techniques. Apply these steps in your next batch and track improvements for refined results. Empowering potters with flawless finishes that inspire craftsmanship and market success.
FAQ
Q1: Can I achieve glaze smoothness without fine particles? Yes, you can, but results may lack premium gloss; coarser options suit budget applications yet demand extra smoothing steps for evenness.
Q2: What if my kiln causes uneven glaze smoothness? Adjust firing profiles first, as temperature swings disrupt flow; consistent ramps and vents restore uniformity effectively.
Q3: How often should I test for glaze smoothness? Test every batch, since variances arise quickly; regular checks prevent costly reworks and ensure reliable quality.
Q4: Can additives really enhance glaze smoothness? Absolutely, they stabilize suspensions; select based on your formula to avoid over-thickening while improving flow.
Q5: Is glaze smoothness harder for beginners? Not overly, with basic particle knowledge; start small-scale to build confidence and achieve professional finishes swiftly.